500 Camel mk1 - short story of a recovery
Re: 500 Camel mk1 - short story of a recovery
Also, what did you do with the rack you took off ? Selling ?
Re: 500 Camel mk1 - short story of a recovery
Hi Ross. What do you mean with "rack"?
The rear and front sprocket are the existing ones; I've just replaced the chain. Let me inform where to find these spares.
I found the cushion from Ariete to this guy: http://www.gommadepoca.it
If you want it, I can call him and ask for the availability and price.
The rear and front sprocket are the existing ones; I've just replaced the chain. Let me inform where to find these spares.
I found the cushion from Ariete to this guy: http://www.gommadepoca.it
If you want it, I can call him and ask for the availability and price.
Re: 500 Camel mk1 - short story of a recovery
Hi Angelo,
Sorry I did not explain my question well. Are you going to sell your rack ? The frame that was behind the seat.
I am very interested in finding out availability and price for the bar cushion. It looks fantastic.
I am still looking to find sprockets for mine for the future.
Many thanks.
Sorry I did not explain my question well. Are you going to sell your rack ? The frame that was behind the seat.
I am very interested in finding out availability and price for the bar cushion. It looks fantastic.
I am still looking to find sprockets for mine for the future.
Many thanks.
Re: 500 Camel mk1 - short story of a recovery
Hi Ross. I still have the rack and I do not use it. If you want it, I can give it to you. Only the cost of shipping.
Re: 500 Camel mk1 - short story of a recovery
Hi Angelo,
I would love the rack. I will send you a PM.
Many Thanks,
Ross.
I would love the rack. I will send you a PM.
Many Thanks,
Ross.
Re: 500 Camel mk1 - short story of a recovery
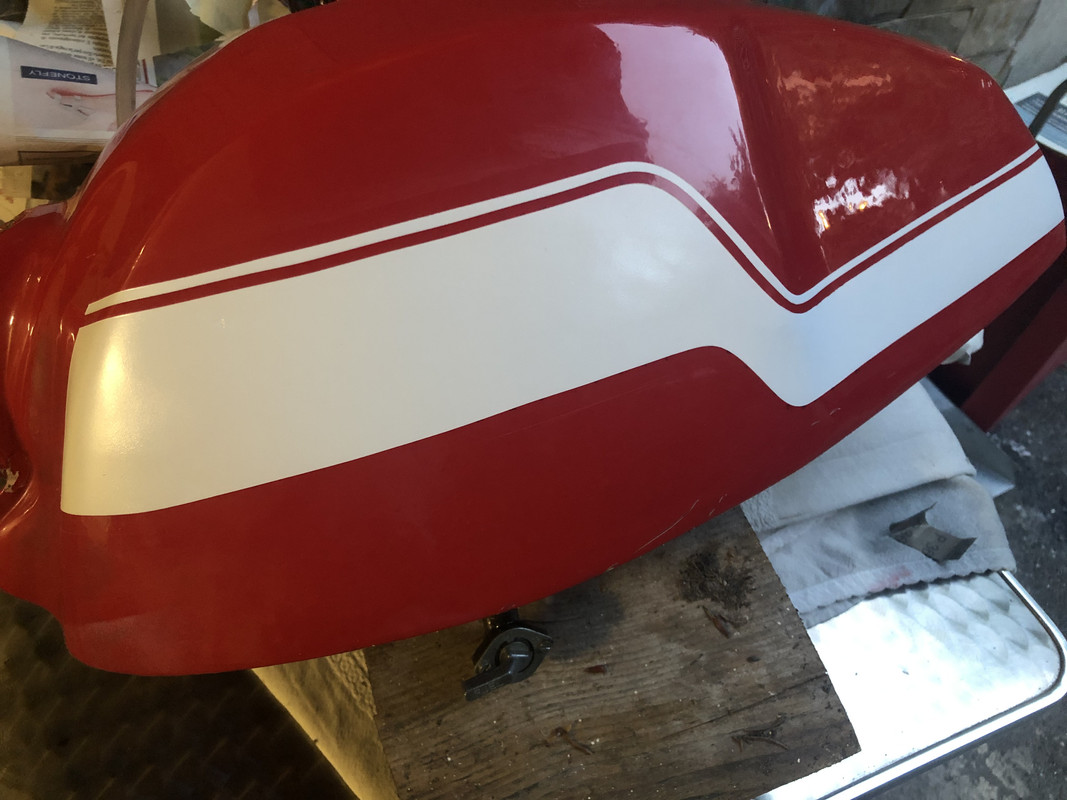
Hi all. Update of Camel story. The bike now runs well, but still miss the graph on the tank.
This my the procedure I used:
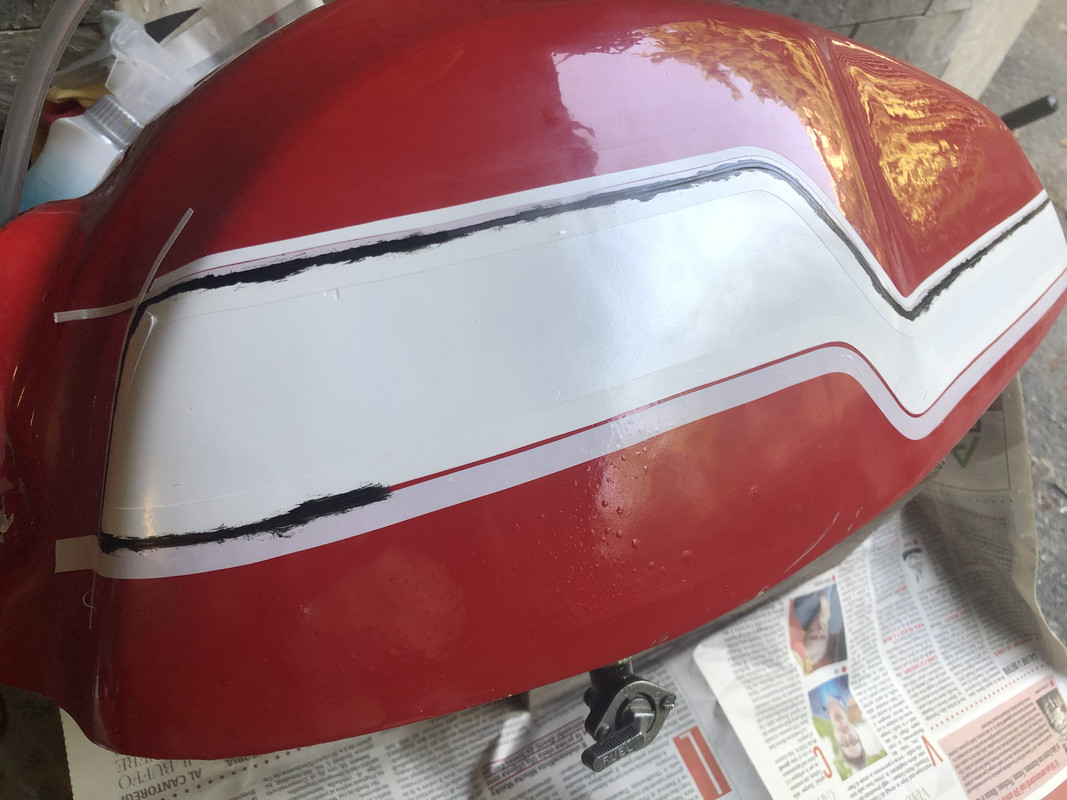
1) To draw the shape of the white zone, using a light paper and mark on the tank through small holes. I used a black marker.
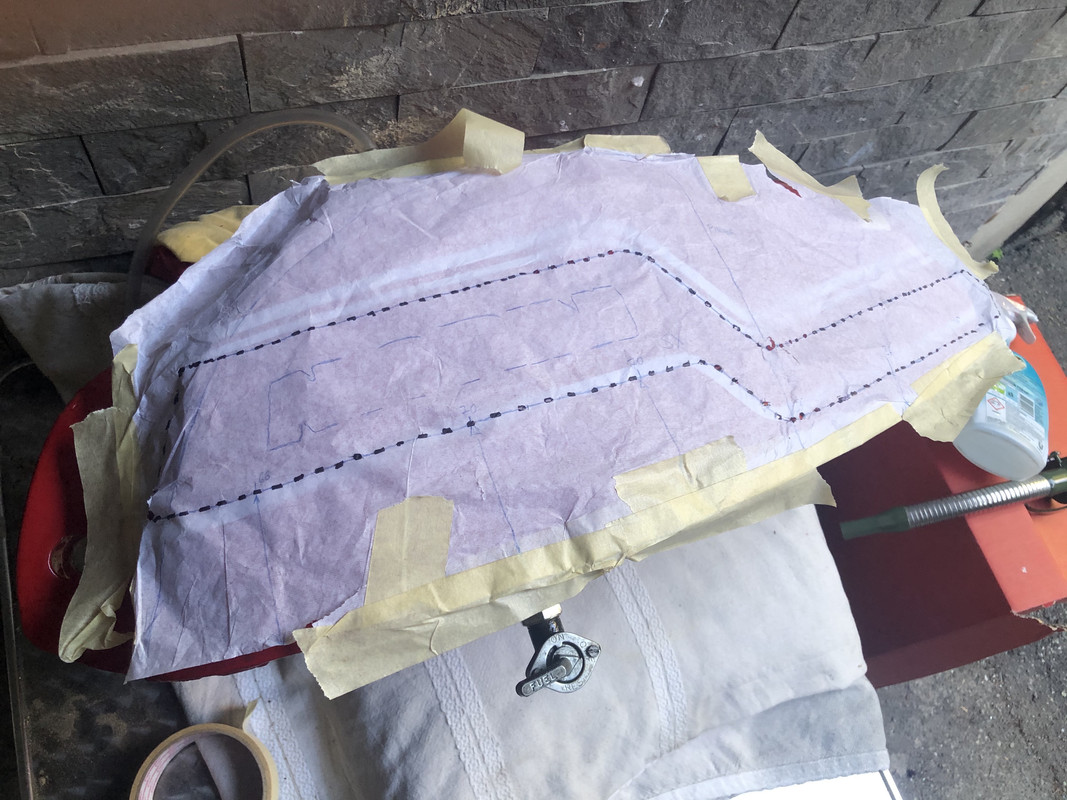
2) Following the marks I glued the white adhesive tape. It's a special tape that can be bended and curved; the same used by coach builders to paint the car body.
3) Then I scratched the surface to be painted using an abrasive 360 grade. This is necessary for the paint to cling.
4) The rest of the tank must be covered. Important process because the paint goes everywhere.
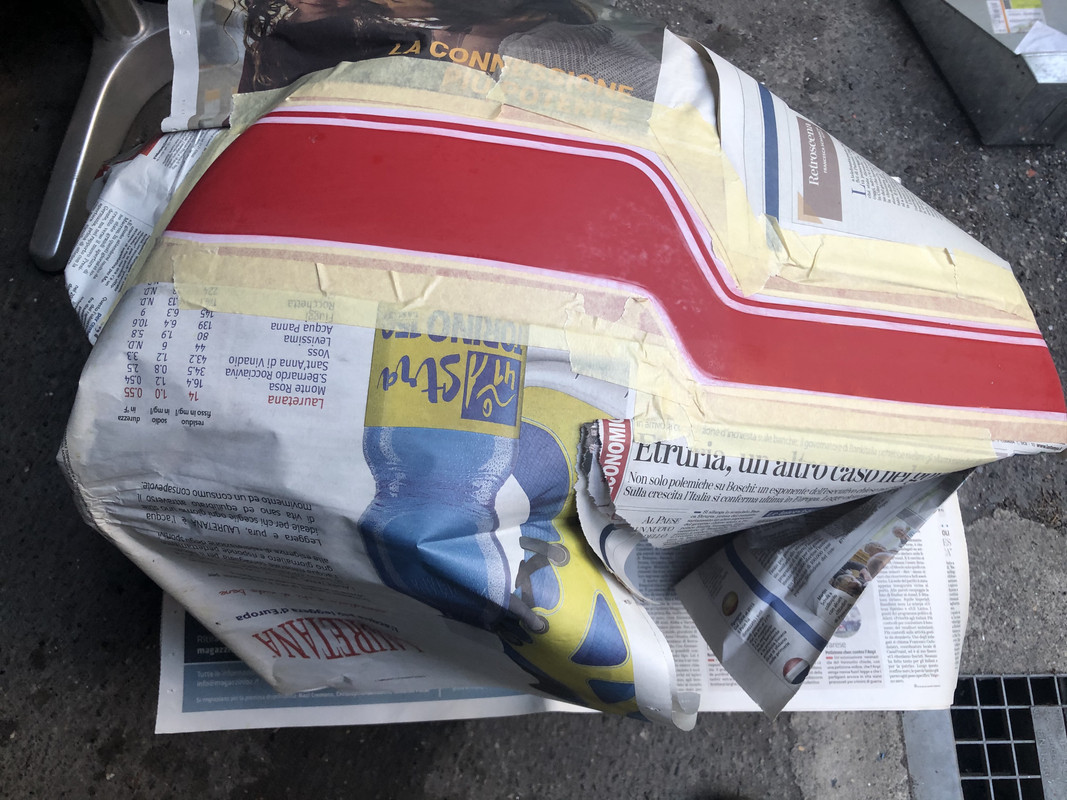
5) Paint sprayed. At least 3 layers.
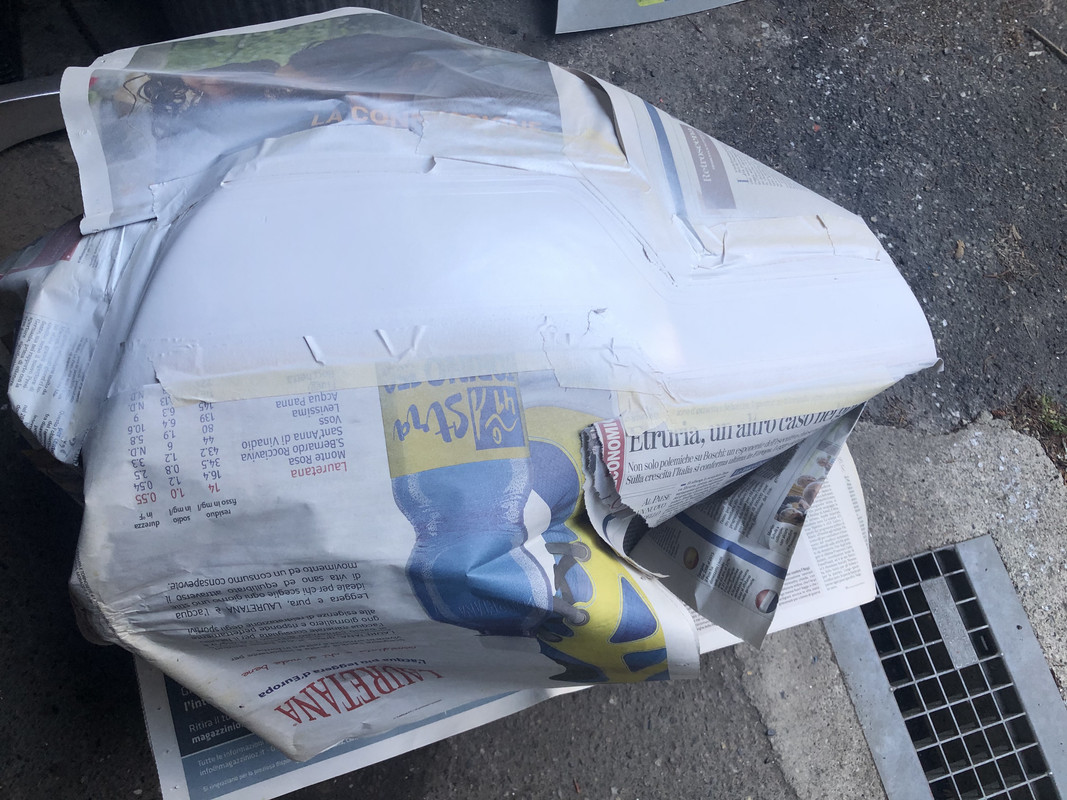
6) Protections and tape removed after paint got dry.
... follows ...
This my the procedure I used:
1) To draw the shape of the white zone, using a light paper and mark on the tank through small holes. I used a black marker.
2) Following the marks I glued the white adhesive tape. It's a special tape that can be bended and curved; the same used by coach builders to paint the car body.
3) Then I scratched the surface to be painted using an abrasive 360 grade. This is necessary for the paint to cling.
4) The rest of the tank must be covered. Important process because the paint goes everywhere.
5) Paint sprayed. At least 3 layers.
6) Protections and tape removed after paint got dry.
... follows ...
Re: 500 Camel mk1 - short story of a recovery
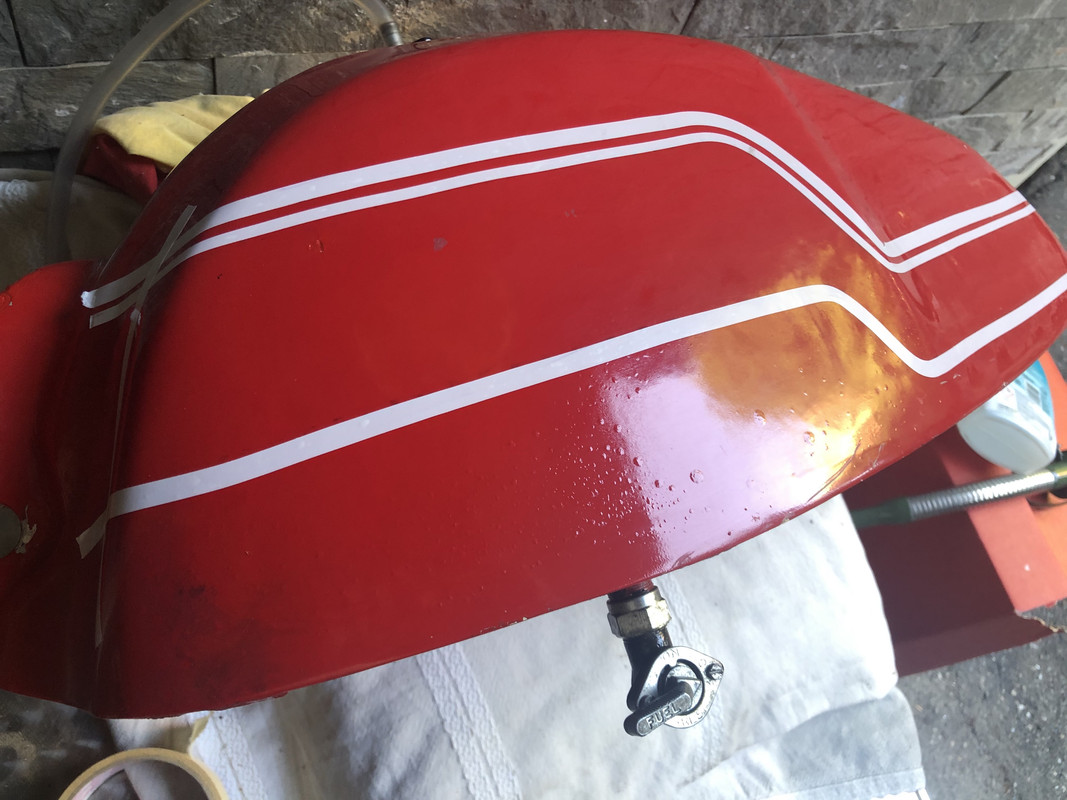
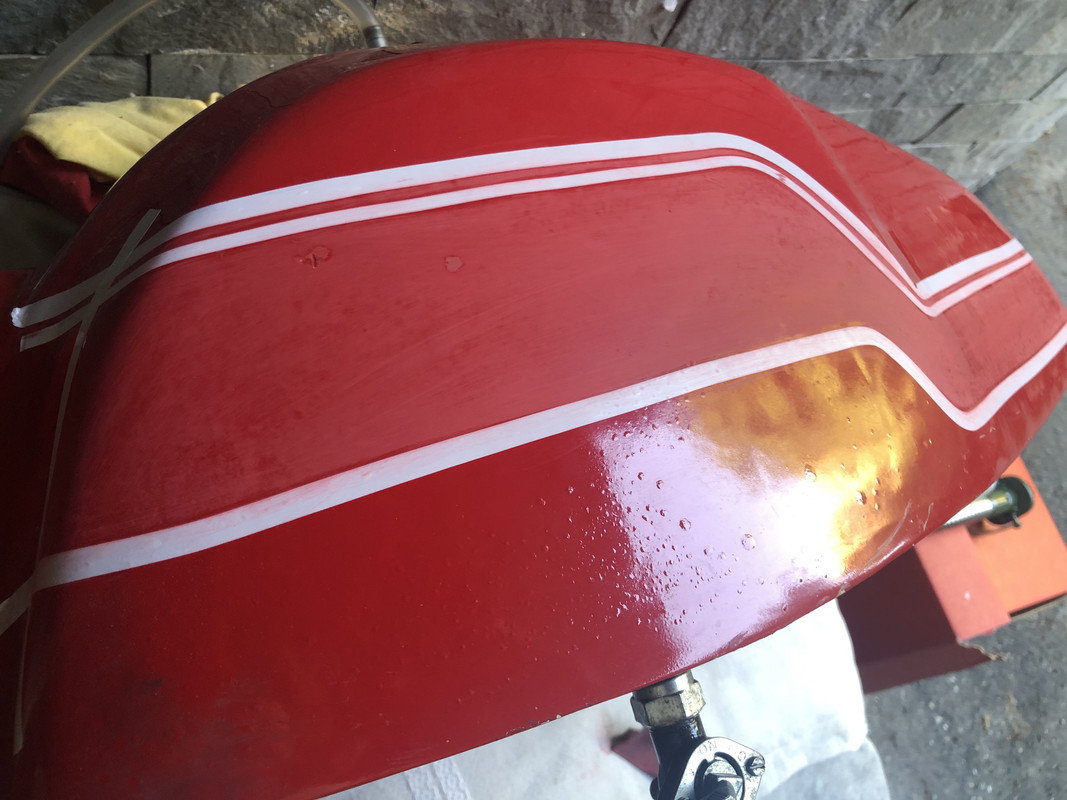
7) To do the black border, I had masked the white contour with tape and painted with a brush.
8 ) After drying, remove the tape with care and this is the final result
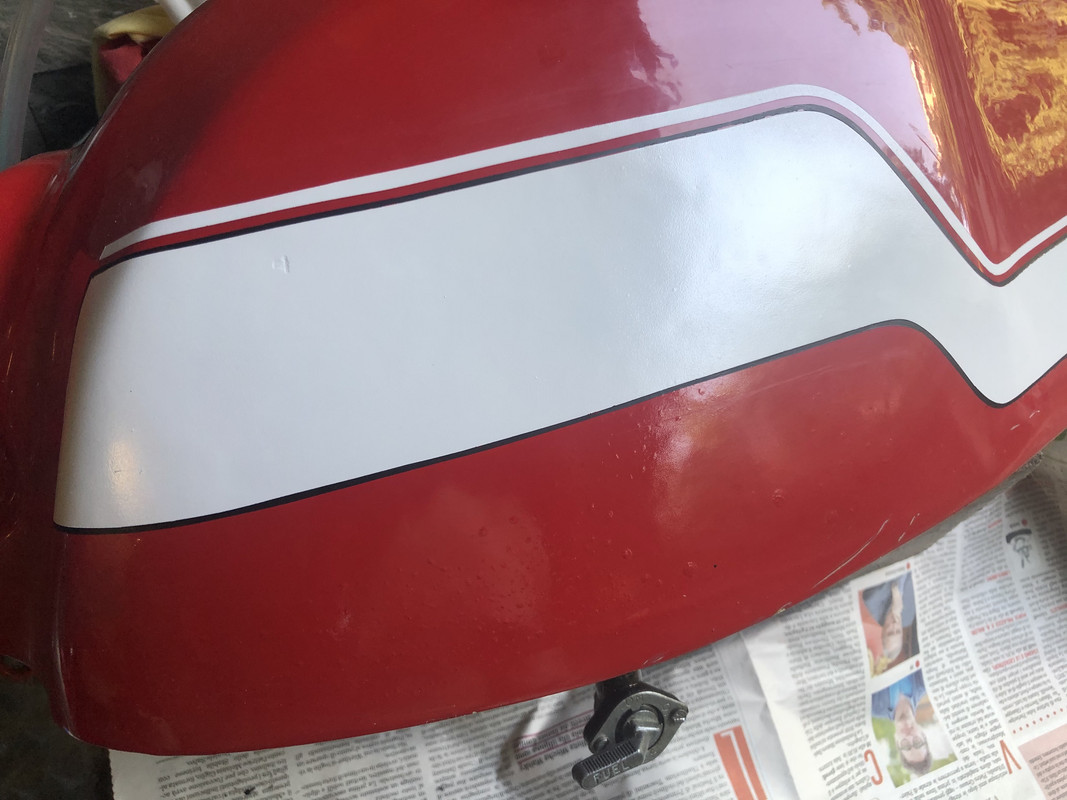
9) Last, logo application.
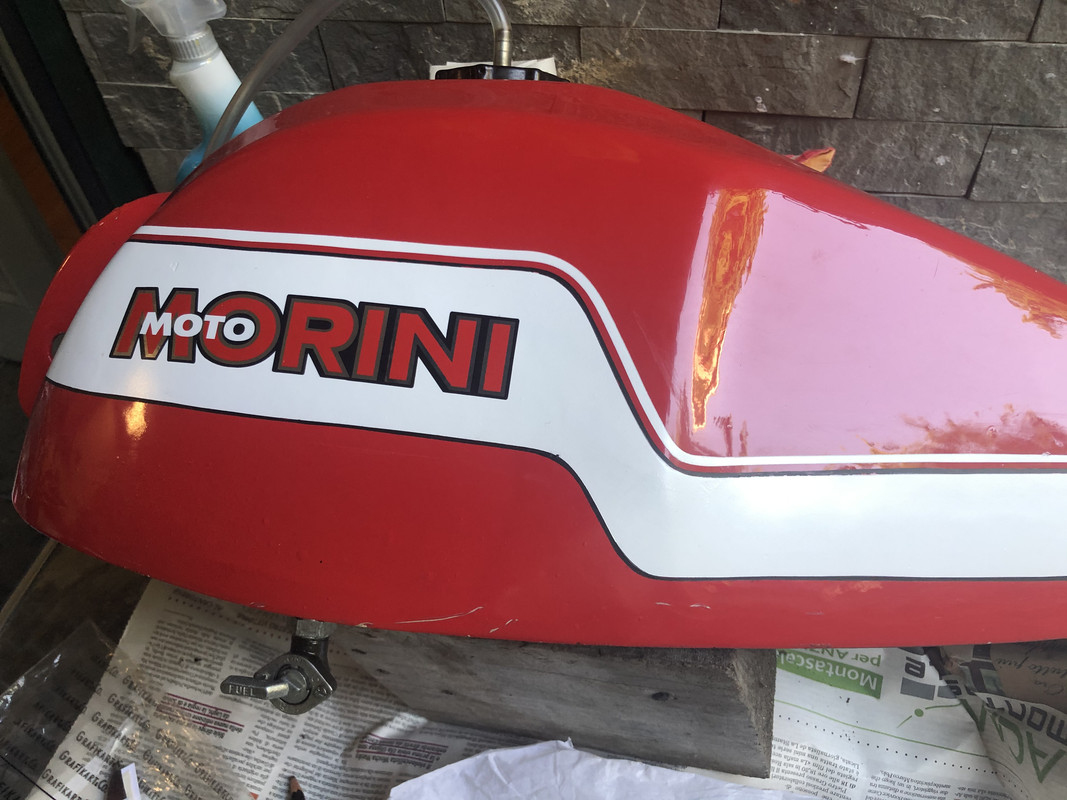
There are still defect of the original red paint, but I wanted to leave it as was, with its original paint.
Now I am thinking to apply a transparent glossy paint, to protect the tank.
8 ) After drying, remove the tape with care and this is the final result
9) Last, logo application.
There are still defect of the original red paint, but I wanted to leave it as was, with its original paint.
Now I am thinking to apply a transparent glossy paint, to protect the tank.

Re: 500 Camel mk1 - short story of a recovery
Looks fine to me. It's an old bike with an old tank, why shouldn't the old paint look a little weary?
Re: 500 Camel mk1 - short story of a recovery
Good job there !
And a big thank you for the rack. I use it often.
And a big thank you for the rack. I use it often.
Re: 500 Camel mk1 - short story of a recovery
Yes, I deliberately left the old original paint.
Re: 500 Camel mk1 - short story of a recovery
nice job on the tank! the tank on mine dissolved halfway the nineties, apparently the GRP was not petrol proof even then.
make sure you give it a good coating on the inside....
make sure you give it a good coating on the inside....