
Hi,
Yes another fun filled winter, I don't know what I did in winter before I got a morini, although most of my refits are self induced due to design choices I made. The Morini had clocked about 18,000 miles prior to the rings going, not sure if that is good, bad or average. Regarding the exhaust threads I am pretty sure it is abuse from a variety of owners (including myself). I found I had to keep them locked to prevent loosening and used small springs to do this with some success. But the rear cylinder never seemed to tighten or seal properly so I will see how my guzzi exhaust clamps do. The tool I use to tighten mine was a c-spanner (modified) from an old yamaha tool kit.
Regards
Robin
Project Kanguro Supermoto - Update
Re: Project Kanguro Supermoto - Update
Following a cold and lazy winter, the winter refit completed in spring. Main acheivements were the fitting of a pillion seat, repaired rear cylinder exhaust clamp and did a new paint job.
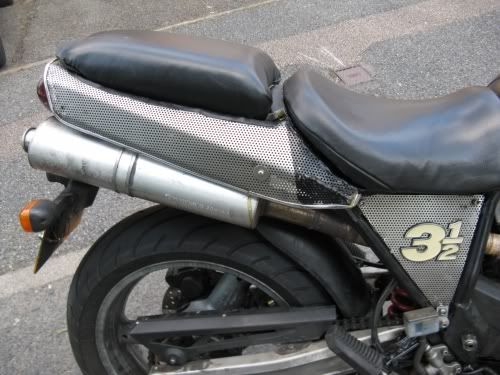
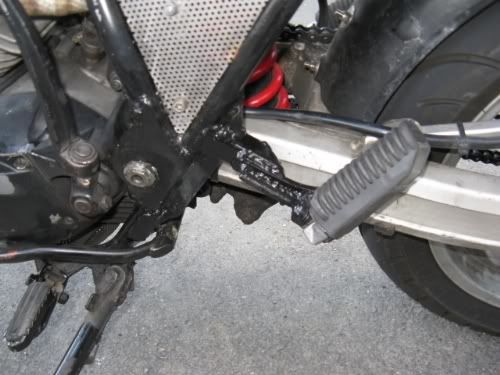
The rear pillion seat was made from a BMW R1150 rear seat to match the BMW R850 front seat I reworked originally. I also managed to modify the tail fairing to give some underseat storage for tools ( originally I hoped to get my lock and lunch under there, but alas no room). The seat being removable is also lockable using a neat little shed hasp lock with a revolving lock. In addition to the seat I had to re-instate the footrest which I ground off originally, I fabricated these from some box section steel and an old Suzuki suspension link. The footrests are from a BMW K-series.
Rear Seat Picture:-
Footrest and mount:-
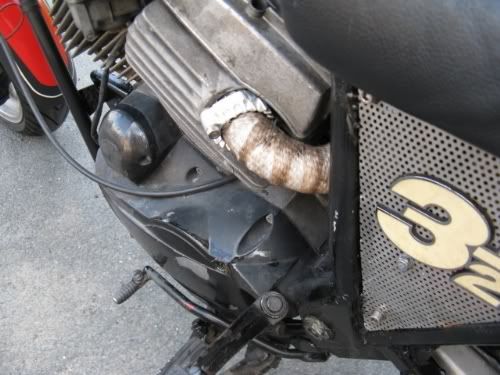
The rear cylinder exhaust thread was shot, I had a quote of £75 from NLM but have never liked this method of fixing. I decided to fit a conventional clamp and sourced an old Guzzi V35 clamp along with collets. I drilled the head fitted helicoils and stainless studs and managed to complete the job with the head in situ. Fortunately the front cylinder thread are intact so I decided to leave that as is for the time being.
New Exhaust Fixing:-
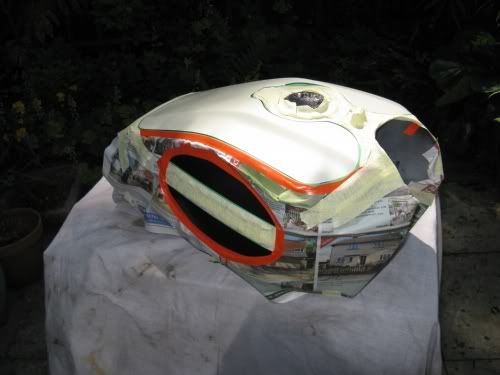
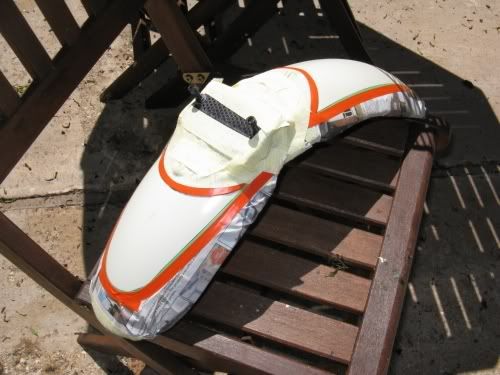
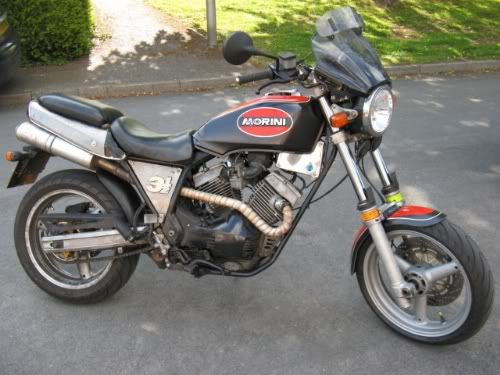
Finally I carried out a new paint job, following the bike being run over in my works car park by a runaway pool car. I used the same colours as before in another Harley inspired paint job with a few tweaks here and there.
Tank and Mudguard in prep:-
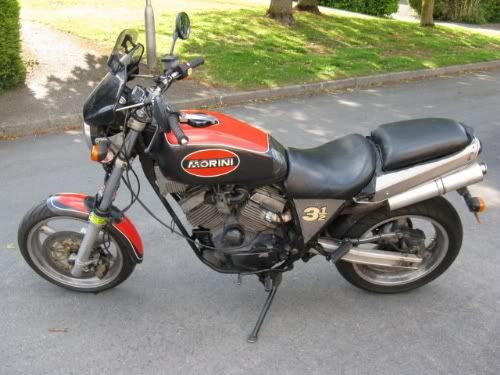
Finished Result:-
Took it out for a shakedown run and all was well, although my local Esso garage were a bit concerned when I pulled in and filled up my bike with smoke pouring off my new exhaust wrap!. I just acted like it was normal. Had the same at a few junctions but after about 10 miles it clears. Rode to work yesterday and definitely can feel the improvement of the rear exhasut sealing properly.
Well thats it for Project Kanguro Supermoto, no more reworks just ride and maintain. Cheers for now.
Regards
Robin
The rear pillion seat was made from a BMW R1150 rear seat to match the BMW R850 front seat I reworked originally. I also managed to modify the tail fairing to give some underseat storage for tools ( originally I hoped to get my lock and lunch under there, but alas no room). The seat being removable is also lockable using a neat little shed hasp lock with a revolving lock. In addition to the seat I had to re-instate the footrest which I ground off originally, I fabricated these from some box section steel and an old Suzuki suspension link. The footrests are from a BMW K-series.
Rear Seat Picture:-
Footrest and mount:-
The rear cylinder exhaust thread was shot, I had a quote of £75 from NLM but have never liked this method of fixing. I decided to fit a conventional clamp and sourced an old Guzzi V35 clamp along with collets. I drilled the head fitted helicoils and stainless studs and managed to complete the job with the head in situ. Fortunately the front cylinder thread are intact so I decided to leave that as is for the time being.
New Exhaust Fixing:-
Finally I carried out a new paint job, following the bike being run over in my works car park by a runaway pool car. I used the same colours as before in another Harley inspired paint job with a few tweaks here and there.
Tank and Mudguard in prep:-
Finished Result:-
Took it out for a shakedown run and all was well, although my local Esso garage were a bit concerned when I pulled in and filled up my bike with smoke pouring off my new exhaust wrap!. I just acted like it was normal. Had the same at a few junctions but after about 10 miles it clears. Rode to work yesterday and definitely can feel the improvement of the rear exhasut sealing properly.
Well thats it for Project Kanguro Supermoto, no more reworks just ride and maintain. Cheers for now.
Regards
Robin
1984 Kanguro X1 home built special.
'Using yesterday's technology to create tomorrow's problem's today'
'Using yesterday's technology to create tomorrow's problem's today'

Re: Project Kanguro Supermoto - Update
Robin
It's good to see that you've got the modifications completed and that the Kanguro's up and running again. We should meet up for a ride before long. I'll be at Knebworth on Sunday if you feel like coming along.
Regards, Mark
It's good to see that you've got the modifications completed and that the Kanguro's up and running again. We should meet up for a ride before long. I'll be at Knebworth on Sunday if you feel like coming along.
Regards, Mark
"I'll have a V please, Bob."